


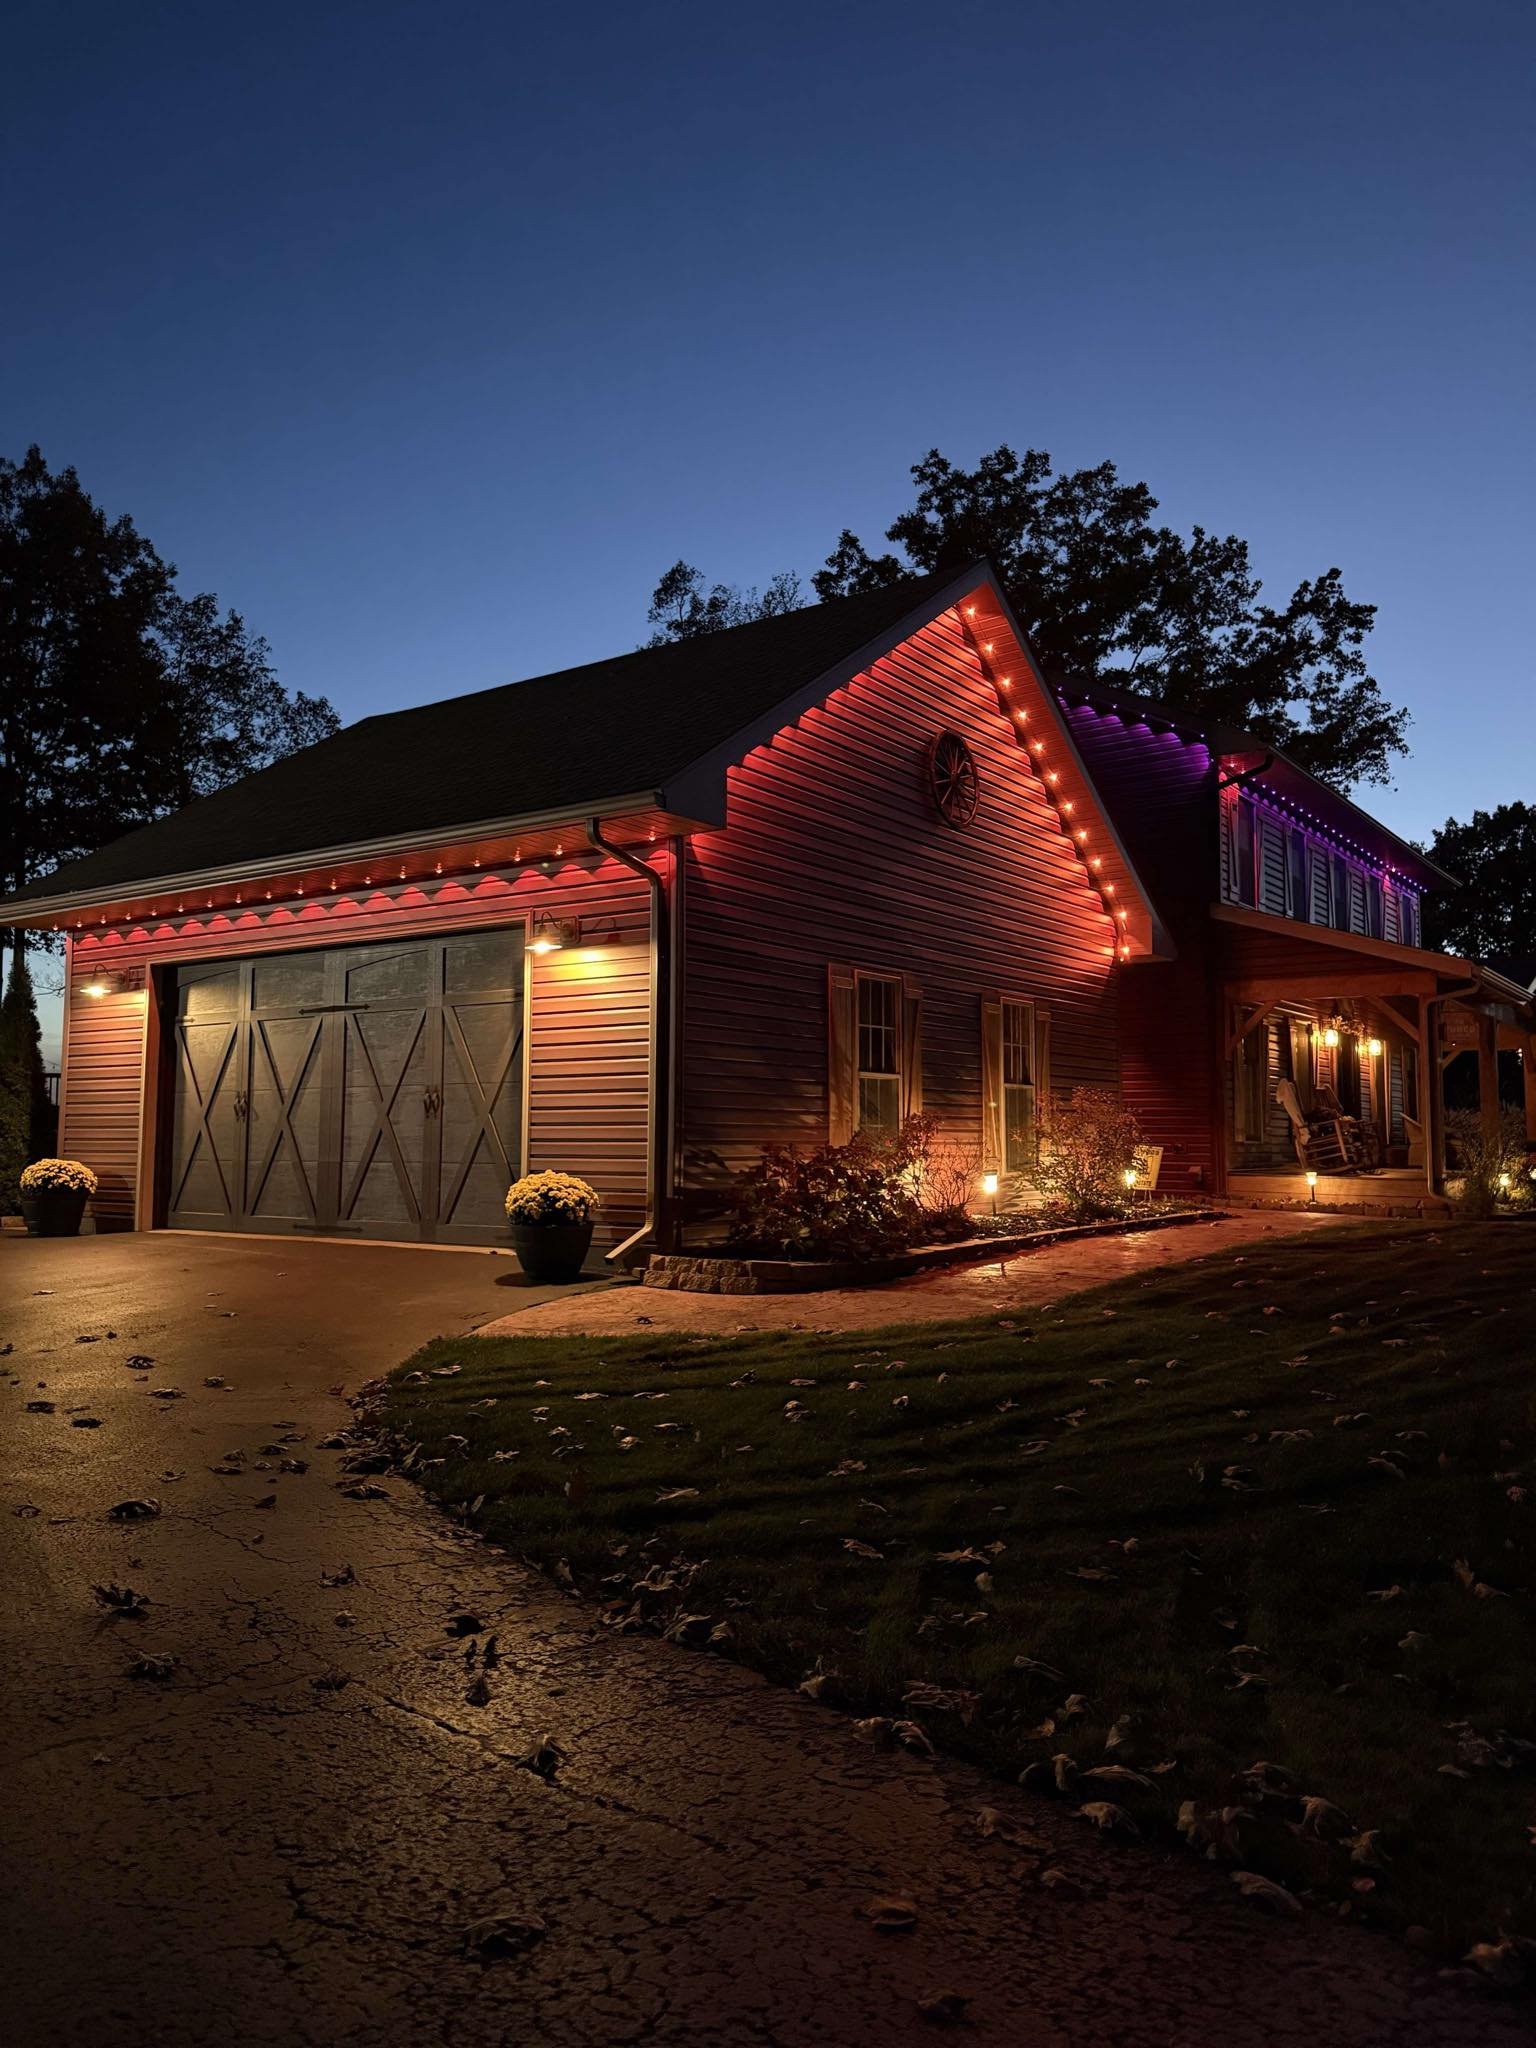


Need to personalise your Govee permanent outdoor lights? Be it cutting, splicing, or extending, this guide offers easy-to-follow step-by-step instructions in a caring manner. Understand how to safely adjust your installation, prevent common errors, and achieve a neat, professional finish for an even longer-lasting outdoor lighting project.
Part 1. Can You Cut Govee Permanent Outdoor Lights?
Yes, but only some models support cutting. The RGBIC outdoor lights ( H705A/B/C) and Govee Permanent Outdoor Lights 2/Elite (H705D/E/F) cannot be cuttable.
In comparison, the Govee permanent outdoor lights Pro (H706A/B/C), Govee Permanent Outdoor Lights 2 Pro (H3A51/3) and Govee Permanent Outdoor Lights Prism (H707A/B/C) are specifically designed to be cuttable and spliceable, providing a flexible DIY customization.
| Model | Product | Cuttable |
| H705A/B/C | RGBIC LED Permanent Outdoor Lights | No❌ |
| H705D/E/F | Permanent Outdoor Lights 2/ Elite | No❌ |
| H706A/B /C | Permanent Outdoor Lights Pro | Yes✅ |
| H3A51/3 | Govee Permanent Outdoor Lights 2 Pro | Yes✅ |
| H707A/B/C | Permanent Outdoor Lights Prism | Yes✅ |
Part 2. How Many Govee Permanent Outdoor Lights Can You Connect Together?
When connecting permanent outdoor lights, consider these total-length limits:
- In the 705A/B/C and 705D/E/F models (2/elite),after adding extension lights, the total length do not exceed 150 ft ( 45 m).
- For the 706A/B/C (Pro), H3A51/3 (2 Pro), and 707A/B/C (Prism) models, the combined total length, including extensions, cannot exceed 200 ft (60 m).
Part 3. How to Splice Govee Permanent Outdoor Lights?
Splicing your outdoor lights correctly is vital – faulty splices can lead to failure or water entry, so doing it right assures a safe, clean, and durable installation.
Installation video: How to cut,splice,or extend to match different spaces?
Here is a detailed step-by-step guide to splicing Govee permanent lights.
Step 1. After determining how much light you wish to use, disconnect from power.

Step 2. Cut the string light between two light beads.

Step 3. Strip with professional equipment to uncover three insulated wires.

Step 4. Remove the silicon plug and let the power cord go through.


Step 5. Insert exposed wires into matching slots.


Step 6. Screw the connector firmly and insert the silicon plug into the shell.


Part 4. How to Plan a 100-Foot Two-Story Roofline Before You Cut or Splice
For a two-story house with a 100 ft roofline, plan every run, corner, and power location before you cut or splice any lights. Govee Permanent Outdoor Lights Pro is best for most two-story homes with a roofline around 100 ft, because its 100 ft kit matches the roofline and a damaged section can be swapped with a 16.4 ft extension light. Let’s compare the two kits.
Which Govee Permanent Outdoor Lights Fit a Two-Story Roofline
Both kits can be cut and reconnected (for 2 Pro, the product page recommends professional guidance when cutting), are made for holiday and everyday outdoor lighting, and come with a 3-year warranty.
| Kit | Best for | Lengths and price | Max length after extending | Weather rating | Operating temperature | Replacing a damaged section |
| Govee Permanent Outdoor Lights Pro | Most two-story rooflines | 100ft $439.99; 150ft $599.99; 200ft $759.99 | 200ft total; past 150ft needs a Govee driver module (included in the 200ft kit) | Lights IP67; control box IP65 | -4°F to 140°F | Swap in a 16.4ft extension light |
| Govee Permanent Outdoor Lights 2 Pro | Colder winters, separate upper and lower runs | 100ft $499.99; 200ft $799.99 | Check the user manual | Lights and Y connector IP68; control box IP67 | -22°F to 140°F |
Contact Govee customer service for a replacement string |
Both kits use an IP67-rated power adapter. Choose Pro for most two-story rooflines. Choose Govee Permanent Outdoor Lights 2 Pro if your winters drop below -4°F or you want the upper and lower rooflines on separate runs.
Plan Lengths and Corners for a 100-Foot Roofline

When planning permanent roofline lighting, sketch the roofline as several straight runs and measure each one, instead of assuming one continuous 100 ft run will fit and cutting afterward.
Break your two-story house down into typical runs, including the upper front eave, the two sloped edges of each gable, the lower porch or garage eave, and the side returns. On your sketch, mark the start, end, corners, and unlit gaps of each run. Before ordering or cutting any strips, use our guide to measure your roofline run by run.
When your layout reaches a corner, cuttable kits can be cut at a corner and reconnected with connectors using the steps in Part 3, though for 2 Pro, the product page recommends professional guidance when cutting. Avoid bending the light strips sharply around peaks or soffit transitions.
Mark unlit gaps, such as spaces above windows or breaks in the eave, separately on your sketch, and follow the manual for your model to route the wiring across each gap.
With 2 Pro, the Y connector can split one kit into two independently controlled runs, so a two-story house can run the upper story on one and the lower story on the other.
Finally, make sure all runs added together stay within the model's limit: up to 200 ft total for Pro (extending past 150 ft needs a driver module), and check the user manual for 2 Pro.
Plan Wiring, Power, and Maximum Run for a Two-Story House

Decide the power location first, then decide which run to install first. Decide where the power will be first, then start with the run closest to the outlet, following our step-by-step installation guide.
Check each kit’s ratings when you choose the power location. Pro’s lights and power adapter are IP67, and its control box is IP65. 2 Pro’s control box and power adapter are both IP67.
Always plug outdoor lights into GFCI-protected circuits (ground-fault circuit interrupter, which cuts power when it detects a fault), and use outdoor extension cords. To add an outdoor outlet or change wiring, hire a licensed electrician.
Follow the manufacturer instructions for maximum run, voltage drop (power lost along a long run of wire), and power injection (adding another power feed partway along a long run) instead of a generic wiring diagram. Pro: 200 ft total. For 2 Pro, check the user manual for maximum length. For either kit, do not add your own extra power feed.
Mounting on Aluminum Soffits

Before mounting under the eaves, first check what is behind the mounting point: solid wood, a hollow aluminum panel, or a vented aluminum panel along the soffit (the panel under the roof overhang) and fascia (the vertical board along the roof edge).
For Pro, use the provided VHB glue and clips. The 2 Pro 200 ft kit includes clip bases, screws, and spare adhesive (Mounting Clip Base x88, Screws x30, Extra Adhesive x36). Choose screws or adhesive according to the user manual for your specific surface. If you are not sure what is behind your soffit panels, follow the user manual or ask a professional before drilling.
What to Verify Before Cutting or Splicing
- 1. Your exact model is cuttable. See the table in Part 1 to confirm which models can be cut. 2 Pro is not listed there, but it can also be cut (professional guidance is recommended when cutting).
- 2. The power is unplugged. Always disconnect the power supply from the outlet before cutting or splicing any light strips.
- 3. Your total length stays within the limit. Follow the manufacturer instructions for maximum length, keeping Pro within 200 ft total (using a Govee driver module past 150 ft) and checking the user manual for 2 Pro.
- 4. You cut only at the designated points. Cut straight across the strip only between two light beads and never through a light bead or connector.
- 5. Your connectors are seated and waterproof. Use the included connectors, and for 2 Pro, use the wire connectors included in the kit. Insert the wires into the matching slots, screw the cap tight, put the silicone plug back into the shell, and never mix lights from different generations.
- 6. Every section lights up before mounting. Connect all cut sections, extensions, and split runs on the ground and run a power-on test before climbing the ladder.
- 7. Your ladder setup is safe for a second story. Follow ladder safety rules so the ladder extends at least 3 ft above the landing surface and the base sits about one-quarter of the ladder's working length from the wall. Have a professional install the runs you cannot reach safely.
You can compare every kit across our full collection of permanent outdoor lights. Always follow the product manual and local electrical codes. For hardwired installations, hire a licensed electrician.
Part 5. FAQs About Cutting Govee Permanent Outdoor Lights
Q1. Can Govee Permanent Outdoor Lights Be Cut?
It is formally based on the model. For non-Pro sets (e.g., H705A/B/C and H705D/E/F), the user manual states that the rope light should not be cut. On the contrary, the Pro (H706A/B/C), 2 Pro (H3A51/3) and Prism (H707A/B/C) version allows cutting and splicing to custom lengths.
Q2. How to Connect Two Govee Outdoor Lights Together?
Use the connectors they provide and connect them with the supplied waterproof connectors (or extension cables, where applicable). In the case of standard models, you screw in the waterproof connectors to connect segments.
Q3. How Many Feet of Govee Outdoor Lights Can You Connect Together?
In the non-Pro model, the manual suggests no more than 9 isotope string-light intervals, totalling 150 ft (45 m). In Pro models, users usually extend to 200 ft (60 m) when correctly set up - again, this is dependent on the power supply and proper installation.
Q4. Can You Connect Multiple Govee Outdoor Lights?
Yes—it is possible to add several segments/units, though you cannot exceed the manufacturer's boundaries (in the overall length and the number of segments). The provided connectors are water-resistant and designed to connect segments securely. Nonetheless, it is not advisable to use a model of a different generation (i.e., a non-Pro model with the Pro), which can result in the malfunction.
Q5. What Is the Spacing Between Govee Permanent Outdoor Lights?
The spacing between Govee Permanent Outdoor Lights varies by product model: it is roughly 16.5 inches (42 cm) for the regular RGBIC version and the Gen 2 Pro, and around 20 inches (50 cm) for the original Pro version. The "Prism" variant has a different spacing of around 33 inches, but it has a higher light density since each puck has three lenses.
You may also like: How to choose the best permanent outdoor lights?
Q6. How Do I Plan Permanent Lights for My Two-Story House With a 100-Foot Roofline?
Plan it in sections: measure run by run, mark corners and gaps, decide the power location first, and then decide where you cut or splice. Govee Permanent Outdoor Lights Pro is best for most two-story 100-foot rooflines,because the 100 ft kit matches a 100-foot roofline and a damaged section can be replaced with a 16.4 ft extension light. If your winters drop below -4°F, or you want the upper and lower stories controlled separately, choose Govee Permanent Outdoor Lights 2 Pro.
Q7. Can I Install Permanent Outdoor Lights on My Aluminum Soffits?
It depends on what is behind the panel, so first check whether your mounting surface has solid wood, a hollow aluminum panel, or vents. Pro uses the provided VHB glue and clips, while the 2 Pro 200 ft kit includes clip bases, screws, and spare adhesive, allowing you to choose screws or adhesive per the user manual. If you are unsure what is behind your aluminum soffits, follow the user manual or ask a professional before drilling.
Q8. Is My Power Adapter Weatherproof If My Lights Are Rated for Outdoor Use?
Check each part separately, because a light’s outdoor rating doesn’t automatically cover its power adapter. Govee Permanent Outdoor Lights Pro and 2 Pro both use an IP67-rated power adapter. Whichever kit you use, always plug into a GFCI-protected circuit.
Conclusion
It is quite possible to customise Govee Permanent Outdoor Lights by using the correct cutting, splicing, and extending techniques. You can customise every aspect of your house's exterior with versatile installation and high-quality smart lighting. You can find an array of Permanent Outdoor Lights at Govee to create a gorgeous year-round permanent light display you can be proud of and amused by.


